Simple Picture Frame
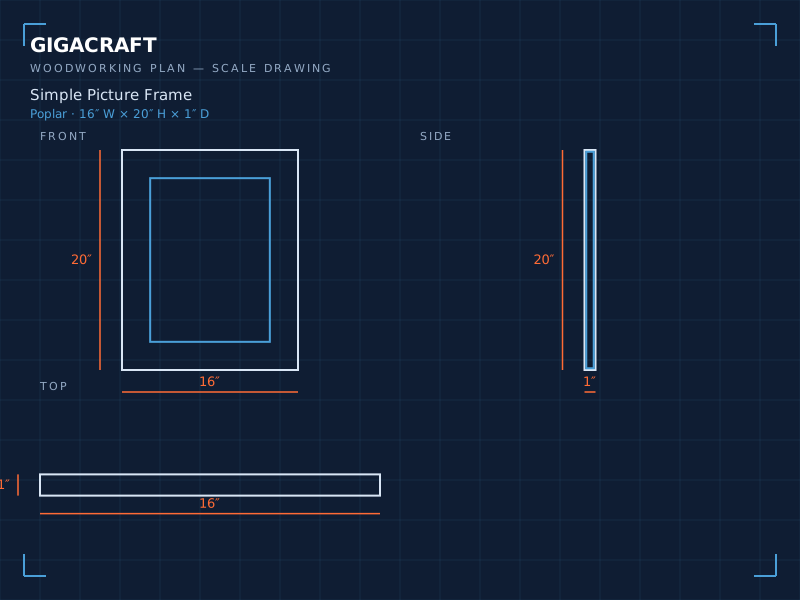
A mitered frame with a routed rabbet for the glass and a plywood back. An honest first joinery project that teaches clean miters.
Difficulty Beginner Category Decor Time 60 min Cost $12 Primary wood Poplar
01Materials
- 1×2 poplar, 8 ft
- 1/8 in hardboard backer
- Acrylic glazing, cut to size
- Wood glue
- Fine brads
02Cut List
| # | Part | Dimension | Note |
|---|---|---|---|
| 01 | 2 × 1×2 | 20 in | long rails (frame size 16×20) |
| 02 | 2 × 1×2 | 16 in | short rails |
| 03 | 1 × hardboard | 15.5 × 19.5 in | backer |
03Tools
- Miter saw
- Router with rabbet bit
- Strap clamp
- Brad nailer or hammer
- Sandpaper
04Build Steps
- Cut the miters. Cut all four rails at 45 degrees with their outer length matching the artwork. Dry-fit and check for gaps.
- Rout the rabbet. Run a rabbet along the back inside edge of each rail to accept the glazing and backer, about 1/4 in wide and deep.
- Glue and clamp. Glue the miters and pull the frame square with a strap clamp. Wipe off squeeze-out before it sets.
- Fit glazing and art. Drop in the glazing, artwork and hardboard backer, then fasten the backer with small brads or turn buttons.
- Finish. Sand to 220 grit and apply stain or paint. Add a sawtooth hanger on the back.
Safety First
- Keep fingers away from the router bit; rout before assembly where possible.
- Wear eye protection when trimming the acrylic glazing.
05Pro Tips
- Cut one rail long and sneeze it back for a perfect miter.
- A flat workbench and a piece of wax paper keep glue from sticking.